sample video

With this feature, students can form their own groups to work together in real time on a Jupyter notebook and submit the notebook as a group.
The feature is compatible with the existing functions: lecturers can share files via the shared folder, groups can hand in their notebooks via the simple submission mode and also use the grader service together.
To the documentation for...:
|
In the following sections, we will show you how to work with the group feature.
After you have clicked on the shared profile link of your lecturer, the profile is not started automatically as usual. Instead, you will land on the following group management page where you can create a new group or wait until you are invited by another group.
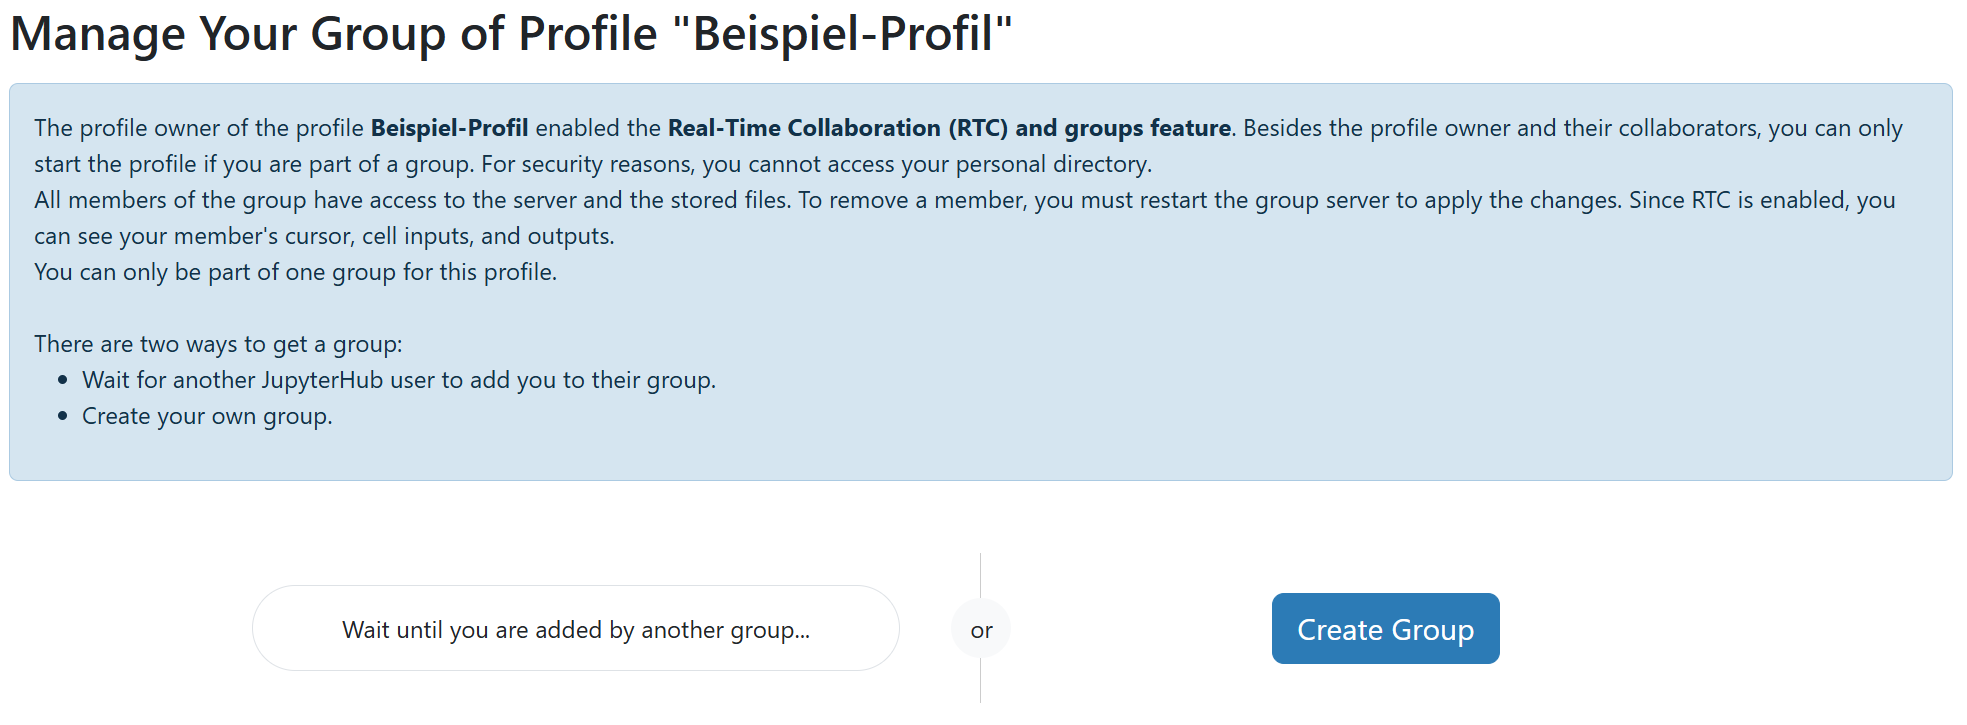
Click on the "Create Group" button to create a new group. You can now add more people, as shown in the following screenshot. To do this, the person must have already visited the profile but not yet joined any other group. Once you have added the person, they are given the same rights as you: the person can add new members and remove existing ones.
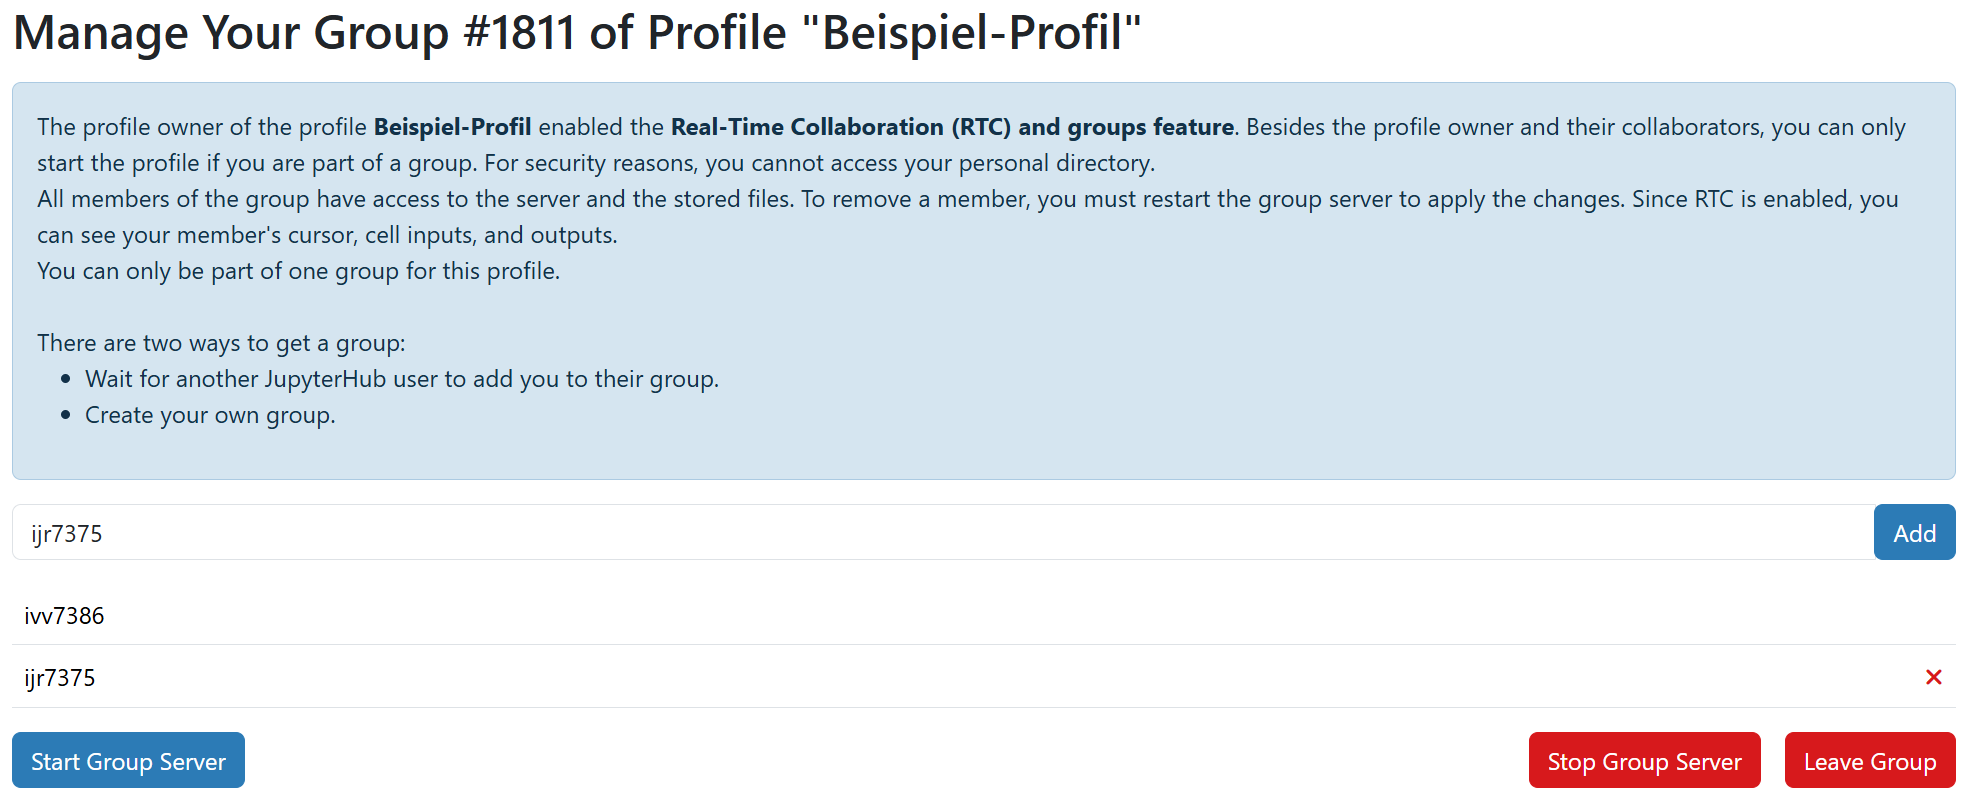
After a person has been removed, the profile's server must be stopped using the "Stop Group Server" button. Otherwise, these changes will not become active. You can also leave the group independently using the "Leave Group" button.
Important note: If the last person in the group leaves, the group is deleted, and the shared data can no longer be accessed.
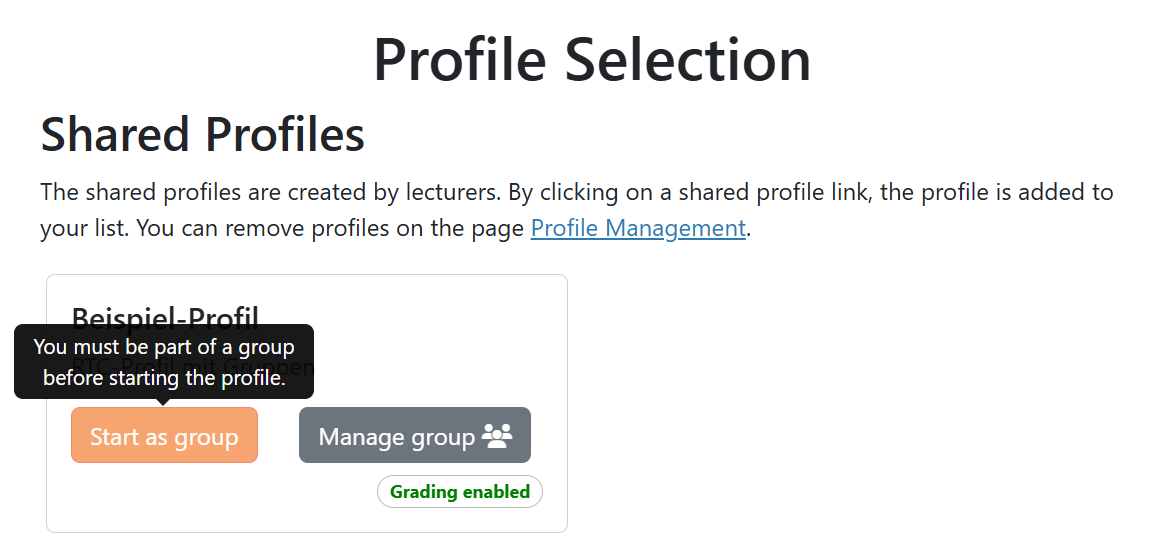
As long as you are not in a group, you cannot start the profile via the profile selection. Click on "Manage Group" to return to the group management page.
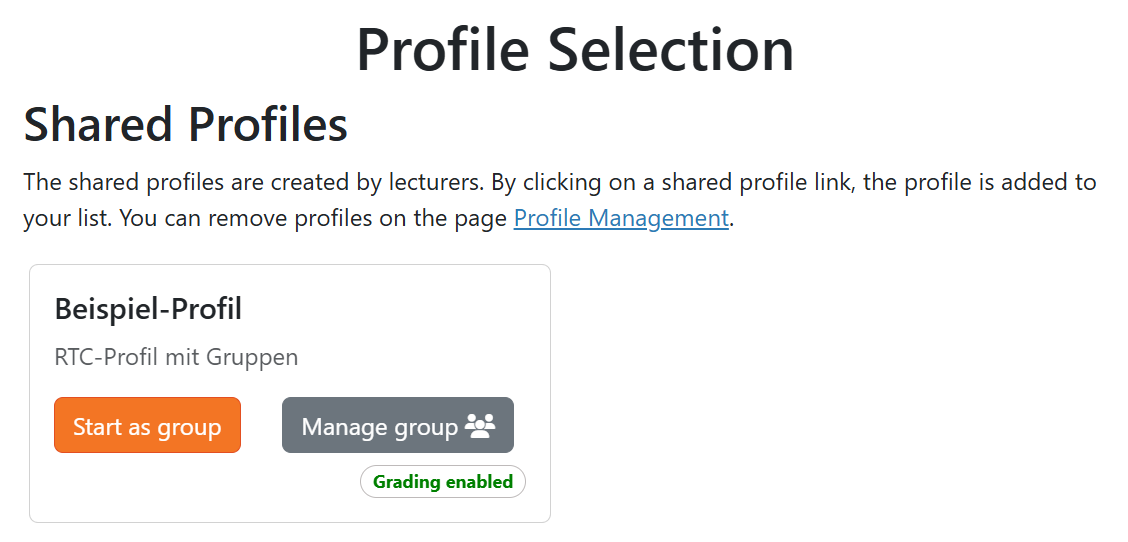
If you are a member of a group, you can start the profile as usual via the profile selection.
Unlike the other profiles, you do not have access to your personal files. All files that you create there are available to all members of the group.
If you are editing a notebook at the same time, you can see the selected text with the mouse cursor, cell output, and the edits of others in real time.
In the following sections, we will show you how to activate and use the group feature.
When creating and editing profiles, there is now the option "Real-Time Collaboration (RTC) in Groups". You activate the feature by selecting it. In addition to selecting the feature, the profile bwJupyter - RTC must be selected under "JupyterLab Environment" when creating the profile. Alternatively, a separate Docker image can be provided, for which the package jupyter-collaboration==4.0.2 must be installed.
The other features are still available with this option.
The profile owner and the collaborators have two options in the profile selection to start the profile:
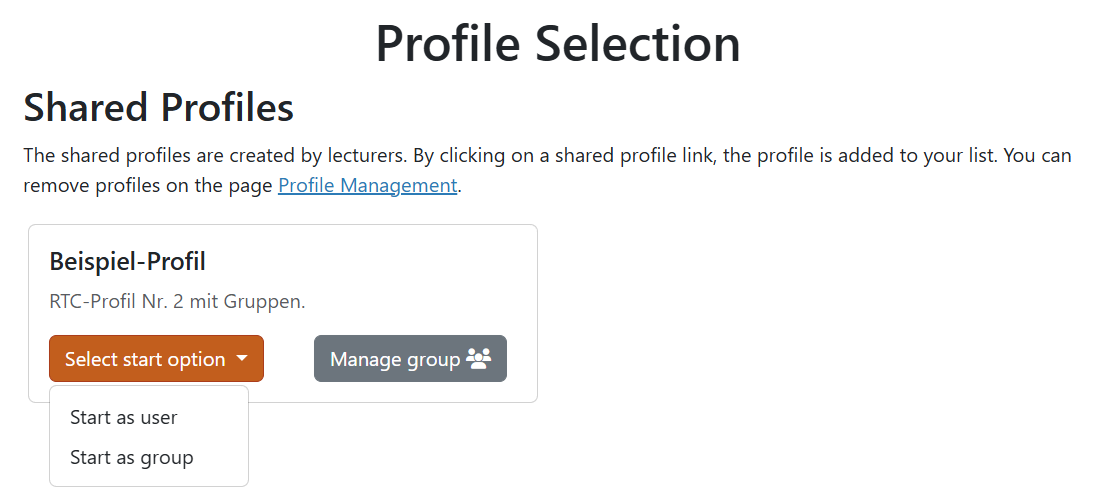
With the first option, you start the profile as usual in the role of the lecturer. This gives you access to your personal directory, you can place files in the shared folder, and view submissions.
With the second option, you start the profile as a member of a group. This option is also available to students. You can only select this option if you have already created a group yourself or have been added to a group (see documentation for students).
Each group has a unique ID consisting of 4 digits. This ID is used for submissions via the folders (group_XXXX) and the grader service (user name group account #XXXX). You are currently unable to view the number of groups or the students assigned to each group. You should therefore instruct your students to enter the full names of all group members in the notebook when submitting assignments.